


How to Build an Off Grid Shower
Independent Hygiene

Whether you're in a off grid situation due to loss of the grid-based water system or because you’ve chosen a lifestyle that demands it, you’re going to get dirty. And you’re going to want to get clean.
So let’s lather up and talk about it!
When we first arrived on the Farm we lived in a camper trailer with a standard camper shower. While that offered a convenient shower solution with a traditional, 6 gallon water heater, it wasn’t very efficient. Thing is, those tank-based water heaters use a lot of propane to heat a small amount of water. Additionally, the trailer’s total fresh water storage capacity was only about 30 gallons. For our consistent use purposes, we needed more.
There had to be a better way.
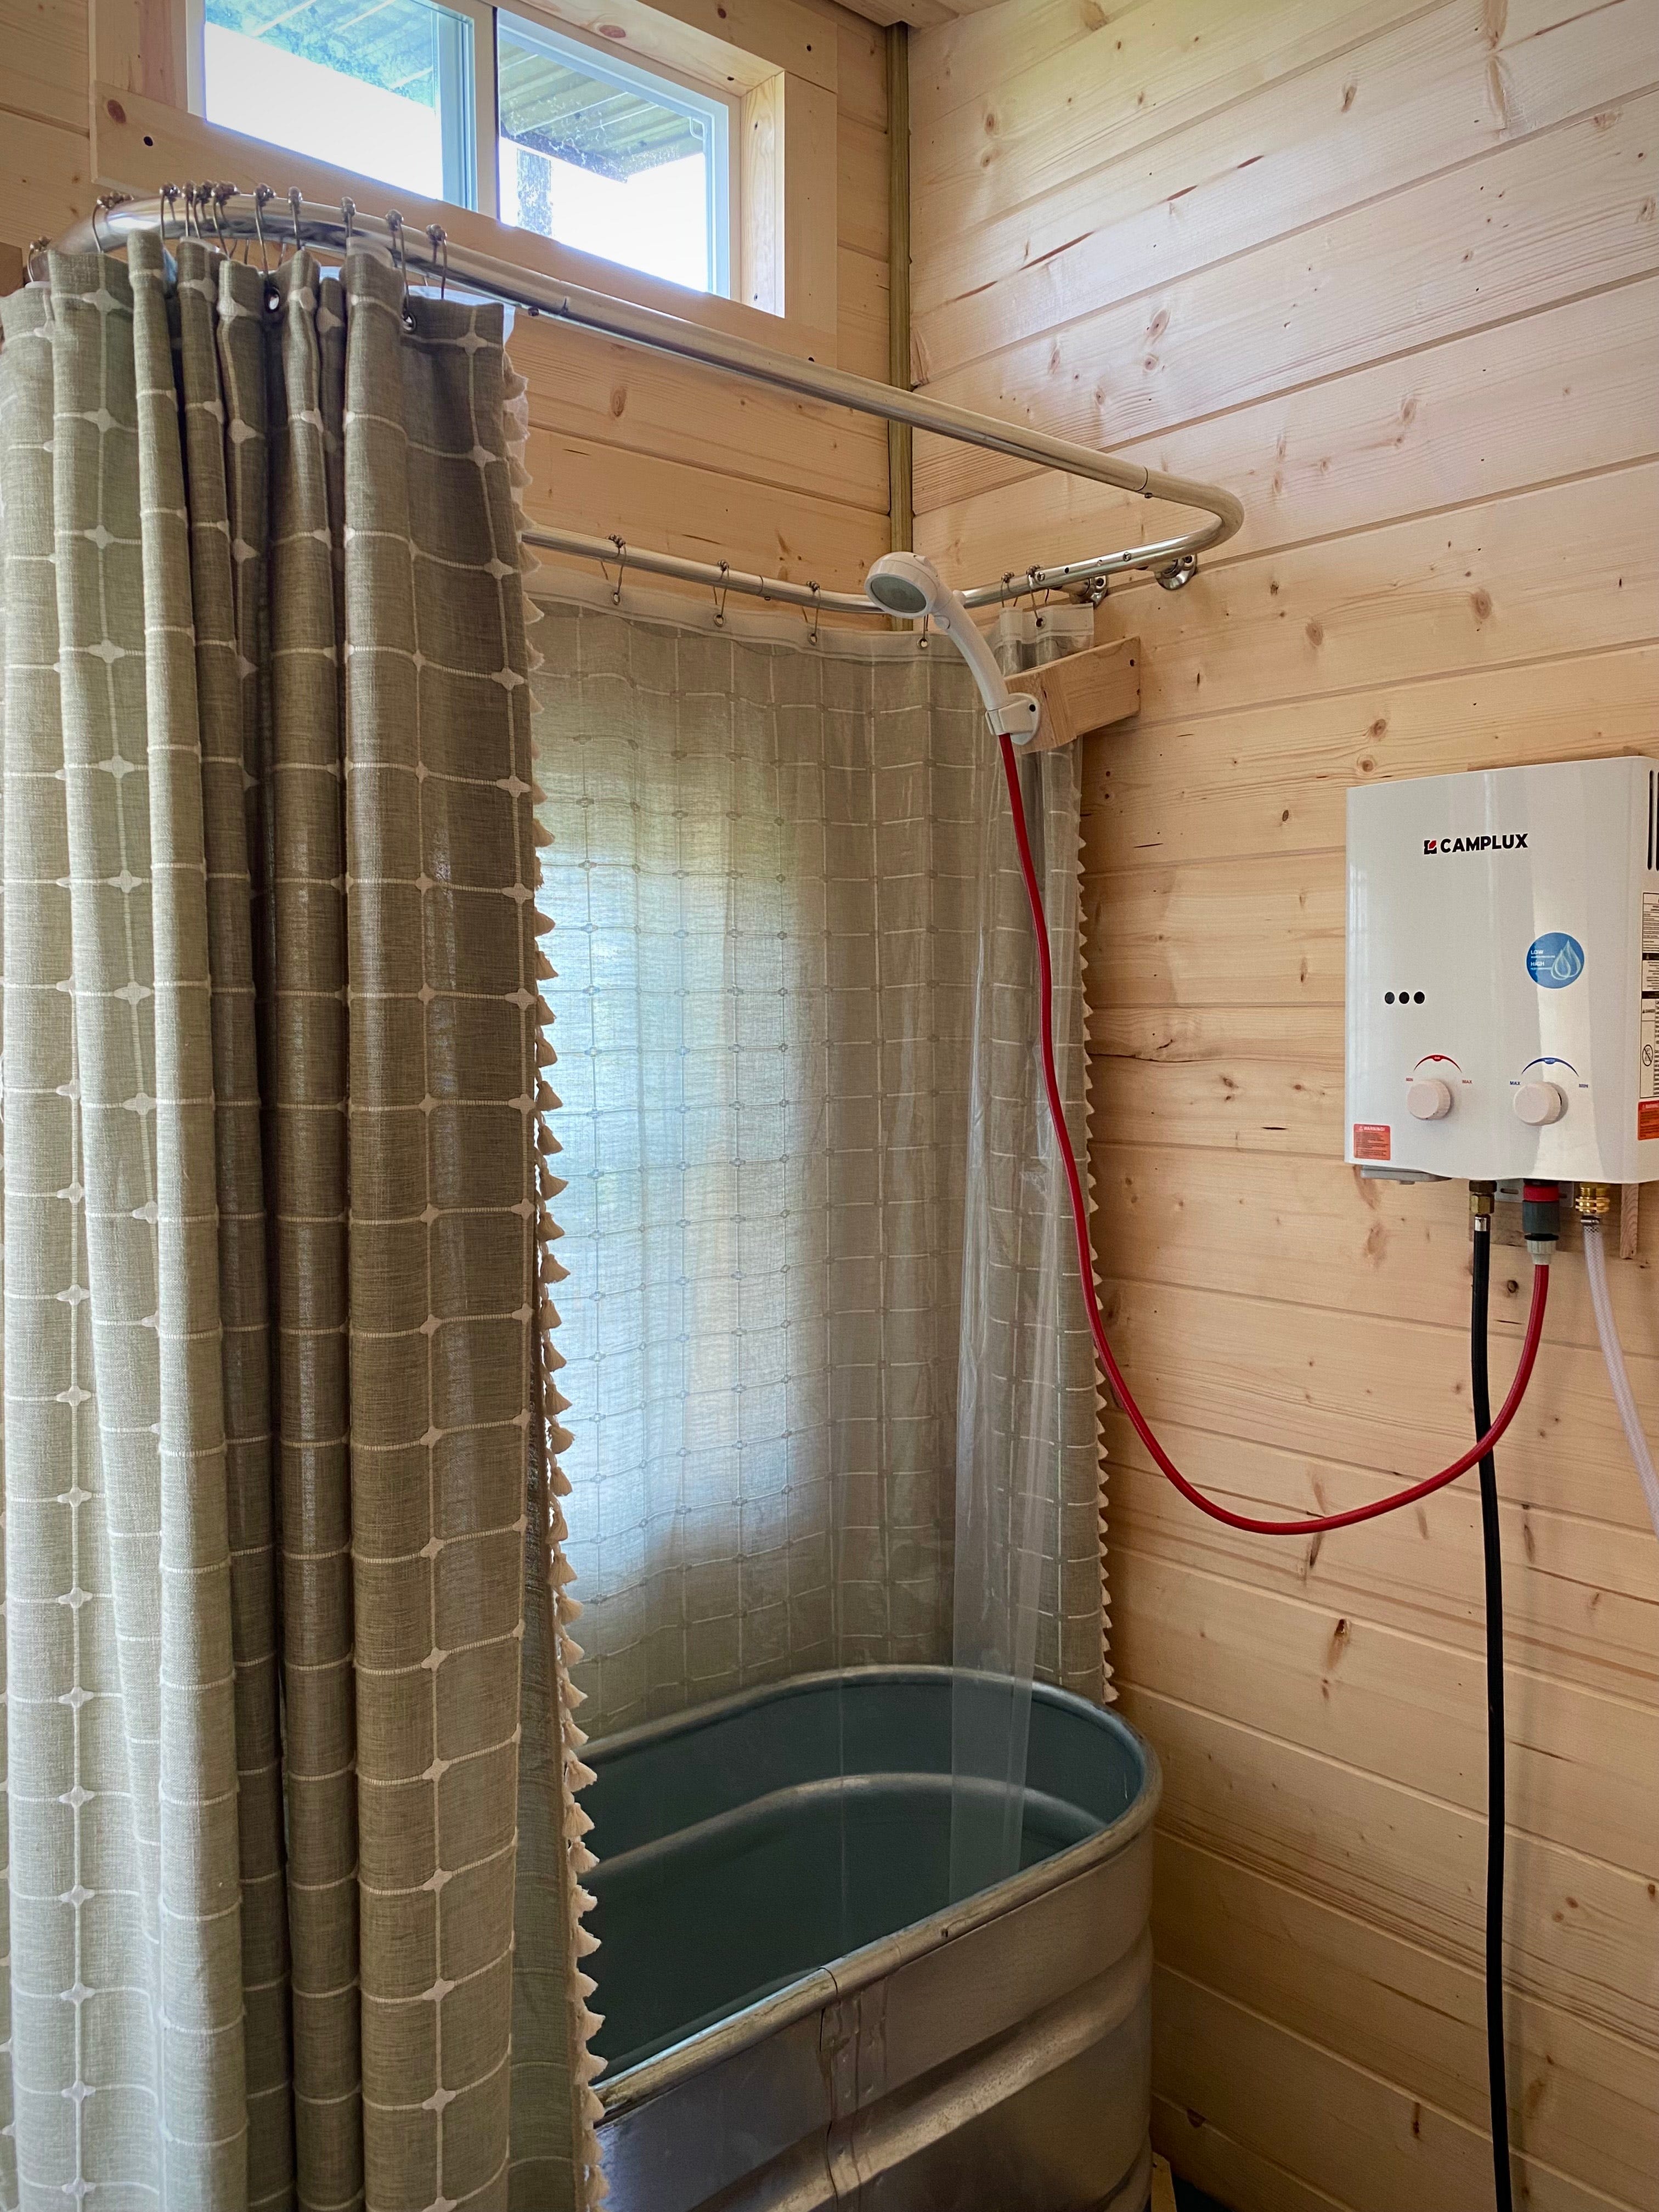
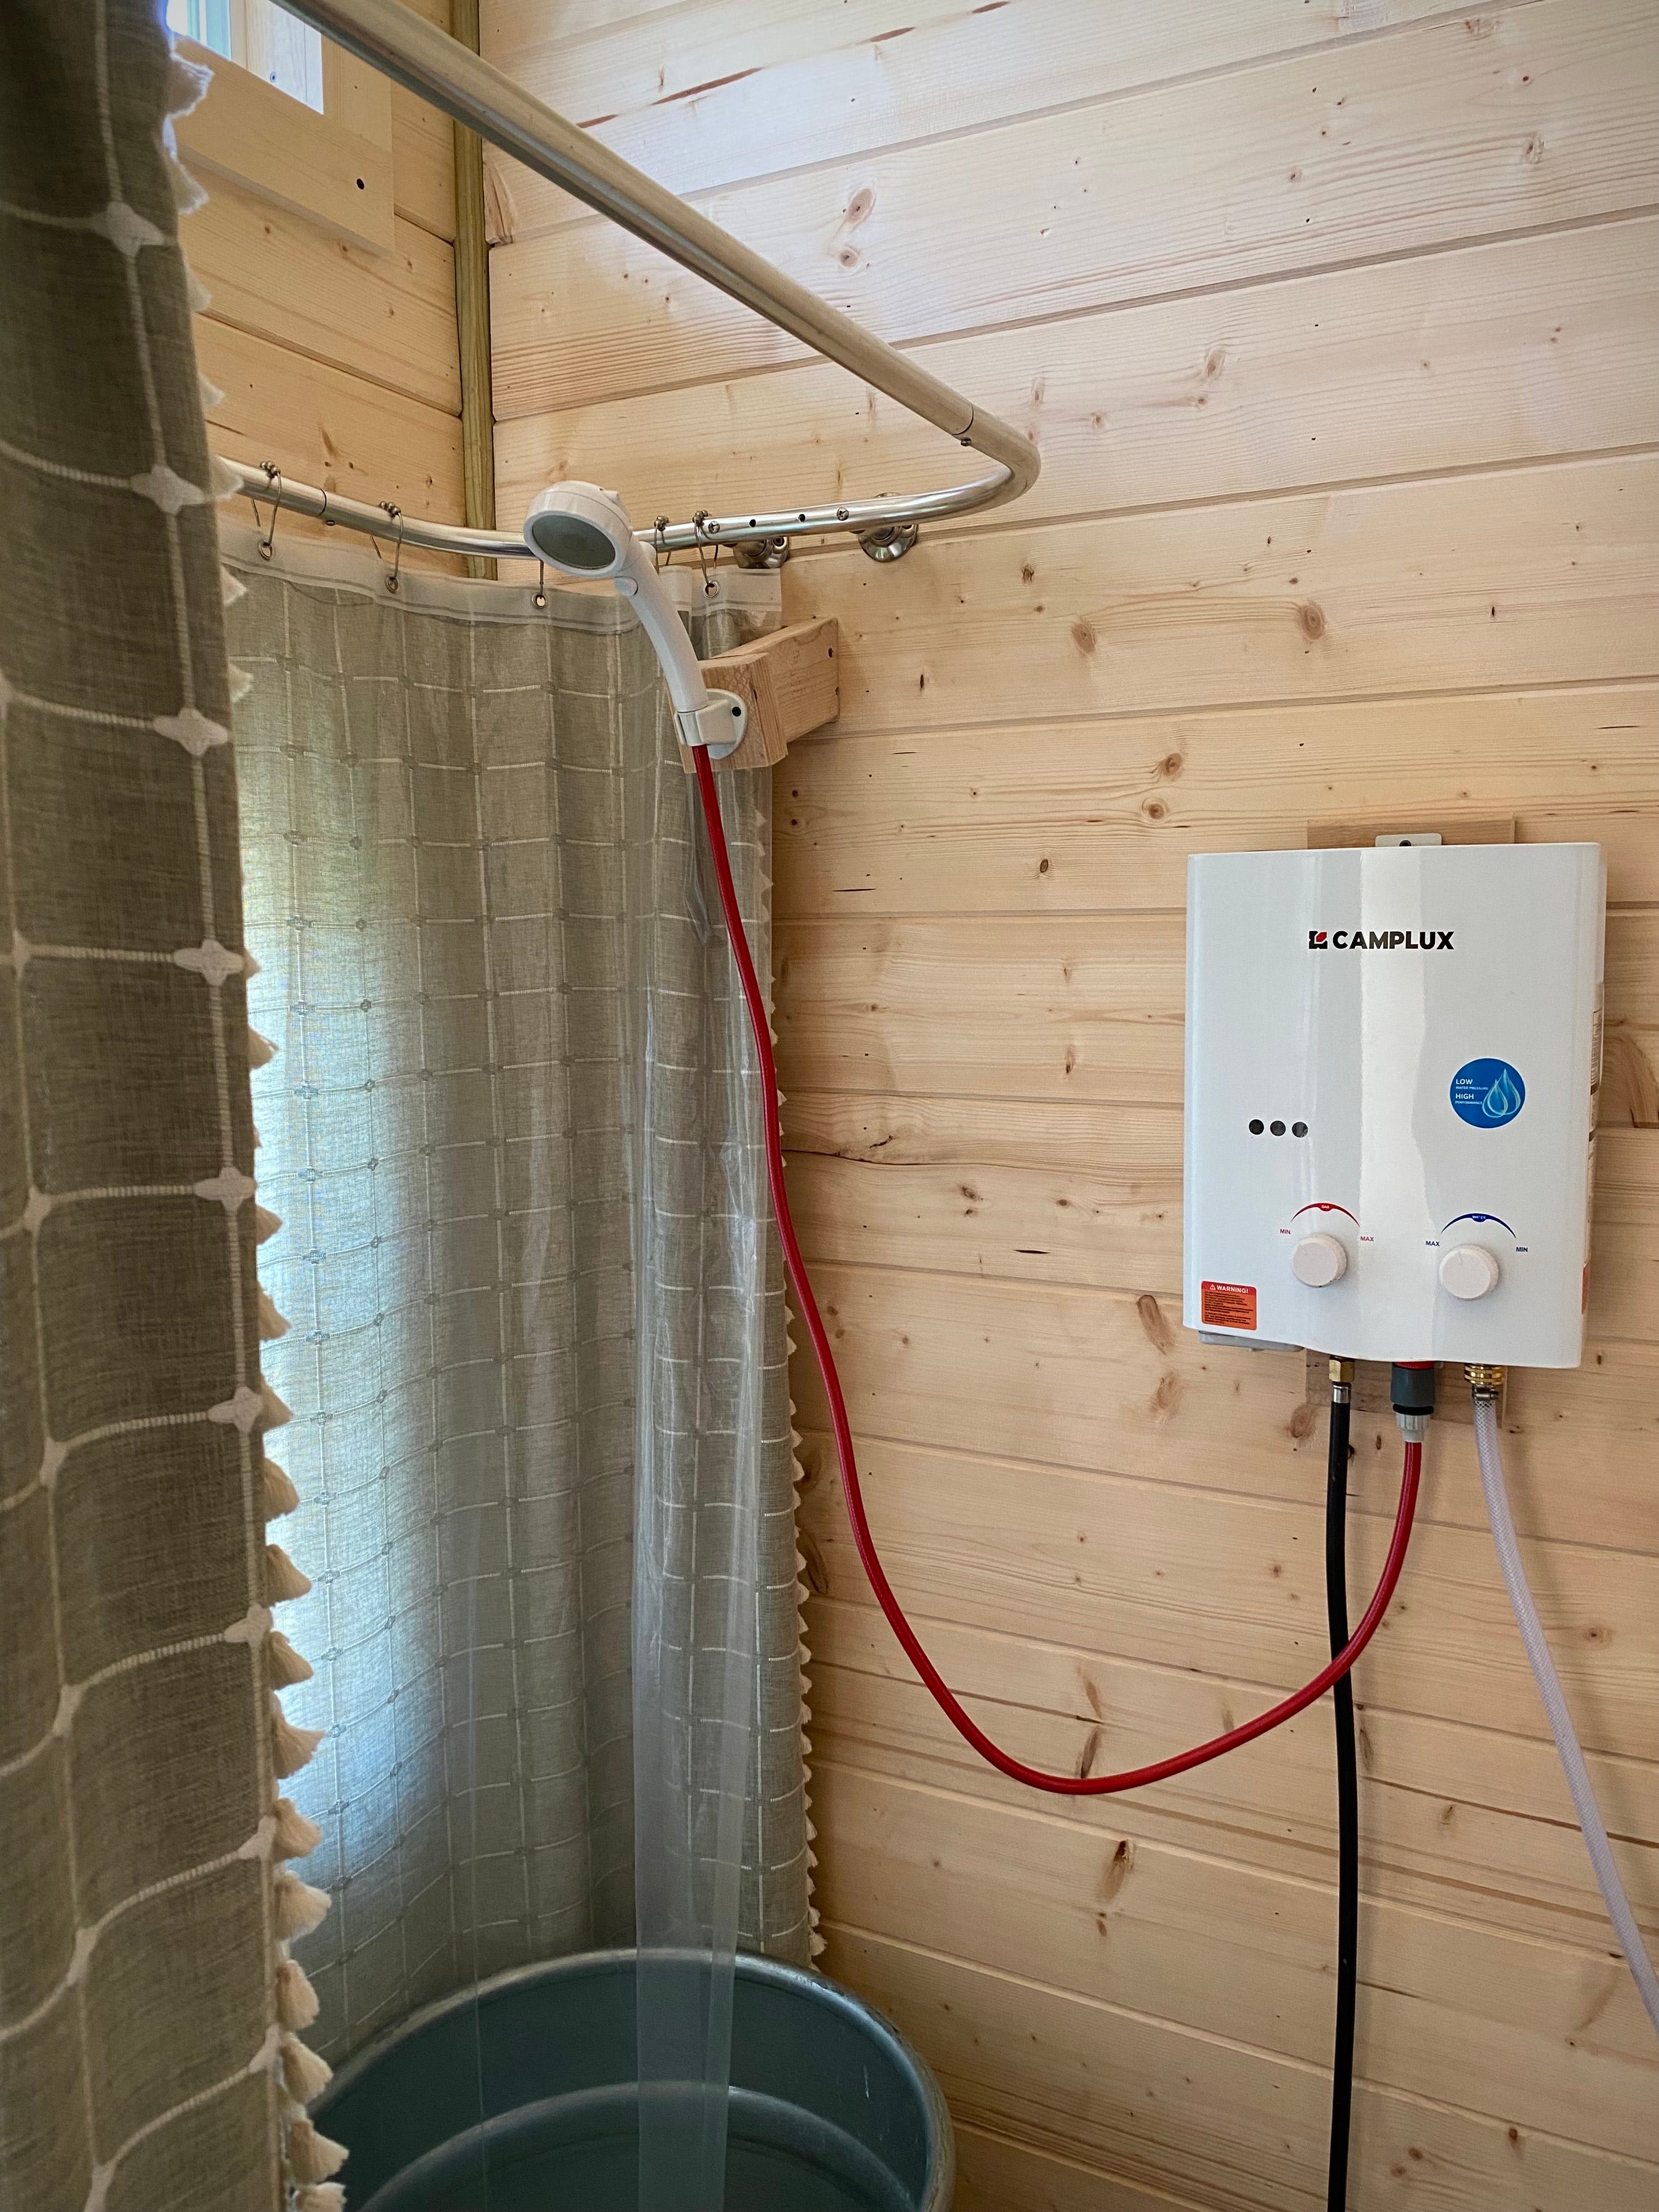
As those early days passed, and we outfitted our cabin home (moving out of the camper trailer) we had the option of continuing to use the trailer shower. But, recognizing the limitations of that system, we wanted to create a more efficient and convenient option. The way we chose to proceed was to attach a small, tankless water heater (we choose a CampLux model) to a ~300 gallon IBC tote. This offered a more efficient method of heating the water that used much less propane, and offered a larger reservoir of water for us to pull from. We also decided to set up a simple shower stall on the side of the cabin (yes, it was outdoors) and we fitted guttering to fill the IBC tote with rain water. This was a huge step forward for spring, summer and fall showers and even our laundry washing.
The main issue?
Everything freezes in winter.
Now, having experienced the benefit of a large, plentiful, renewable water supply and the efficiency and functionality of a tankless water heater, how did we develop a long term setup that accomplishes all of our needs in all seasons?
Our current setup is a detached shower/bathroom building.
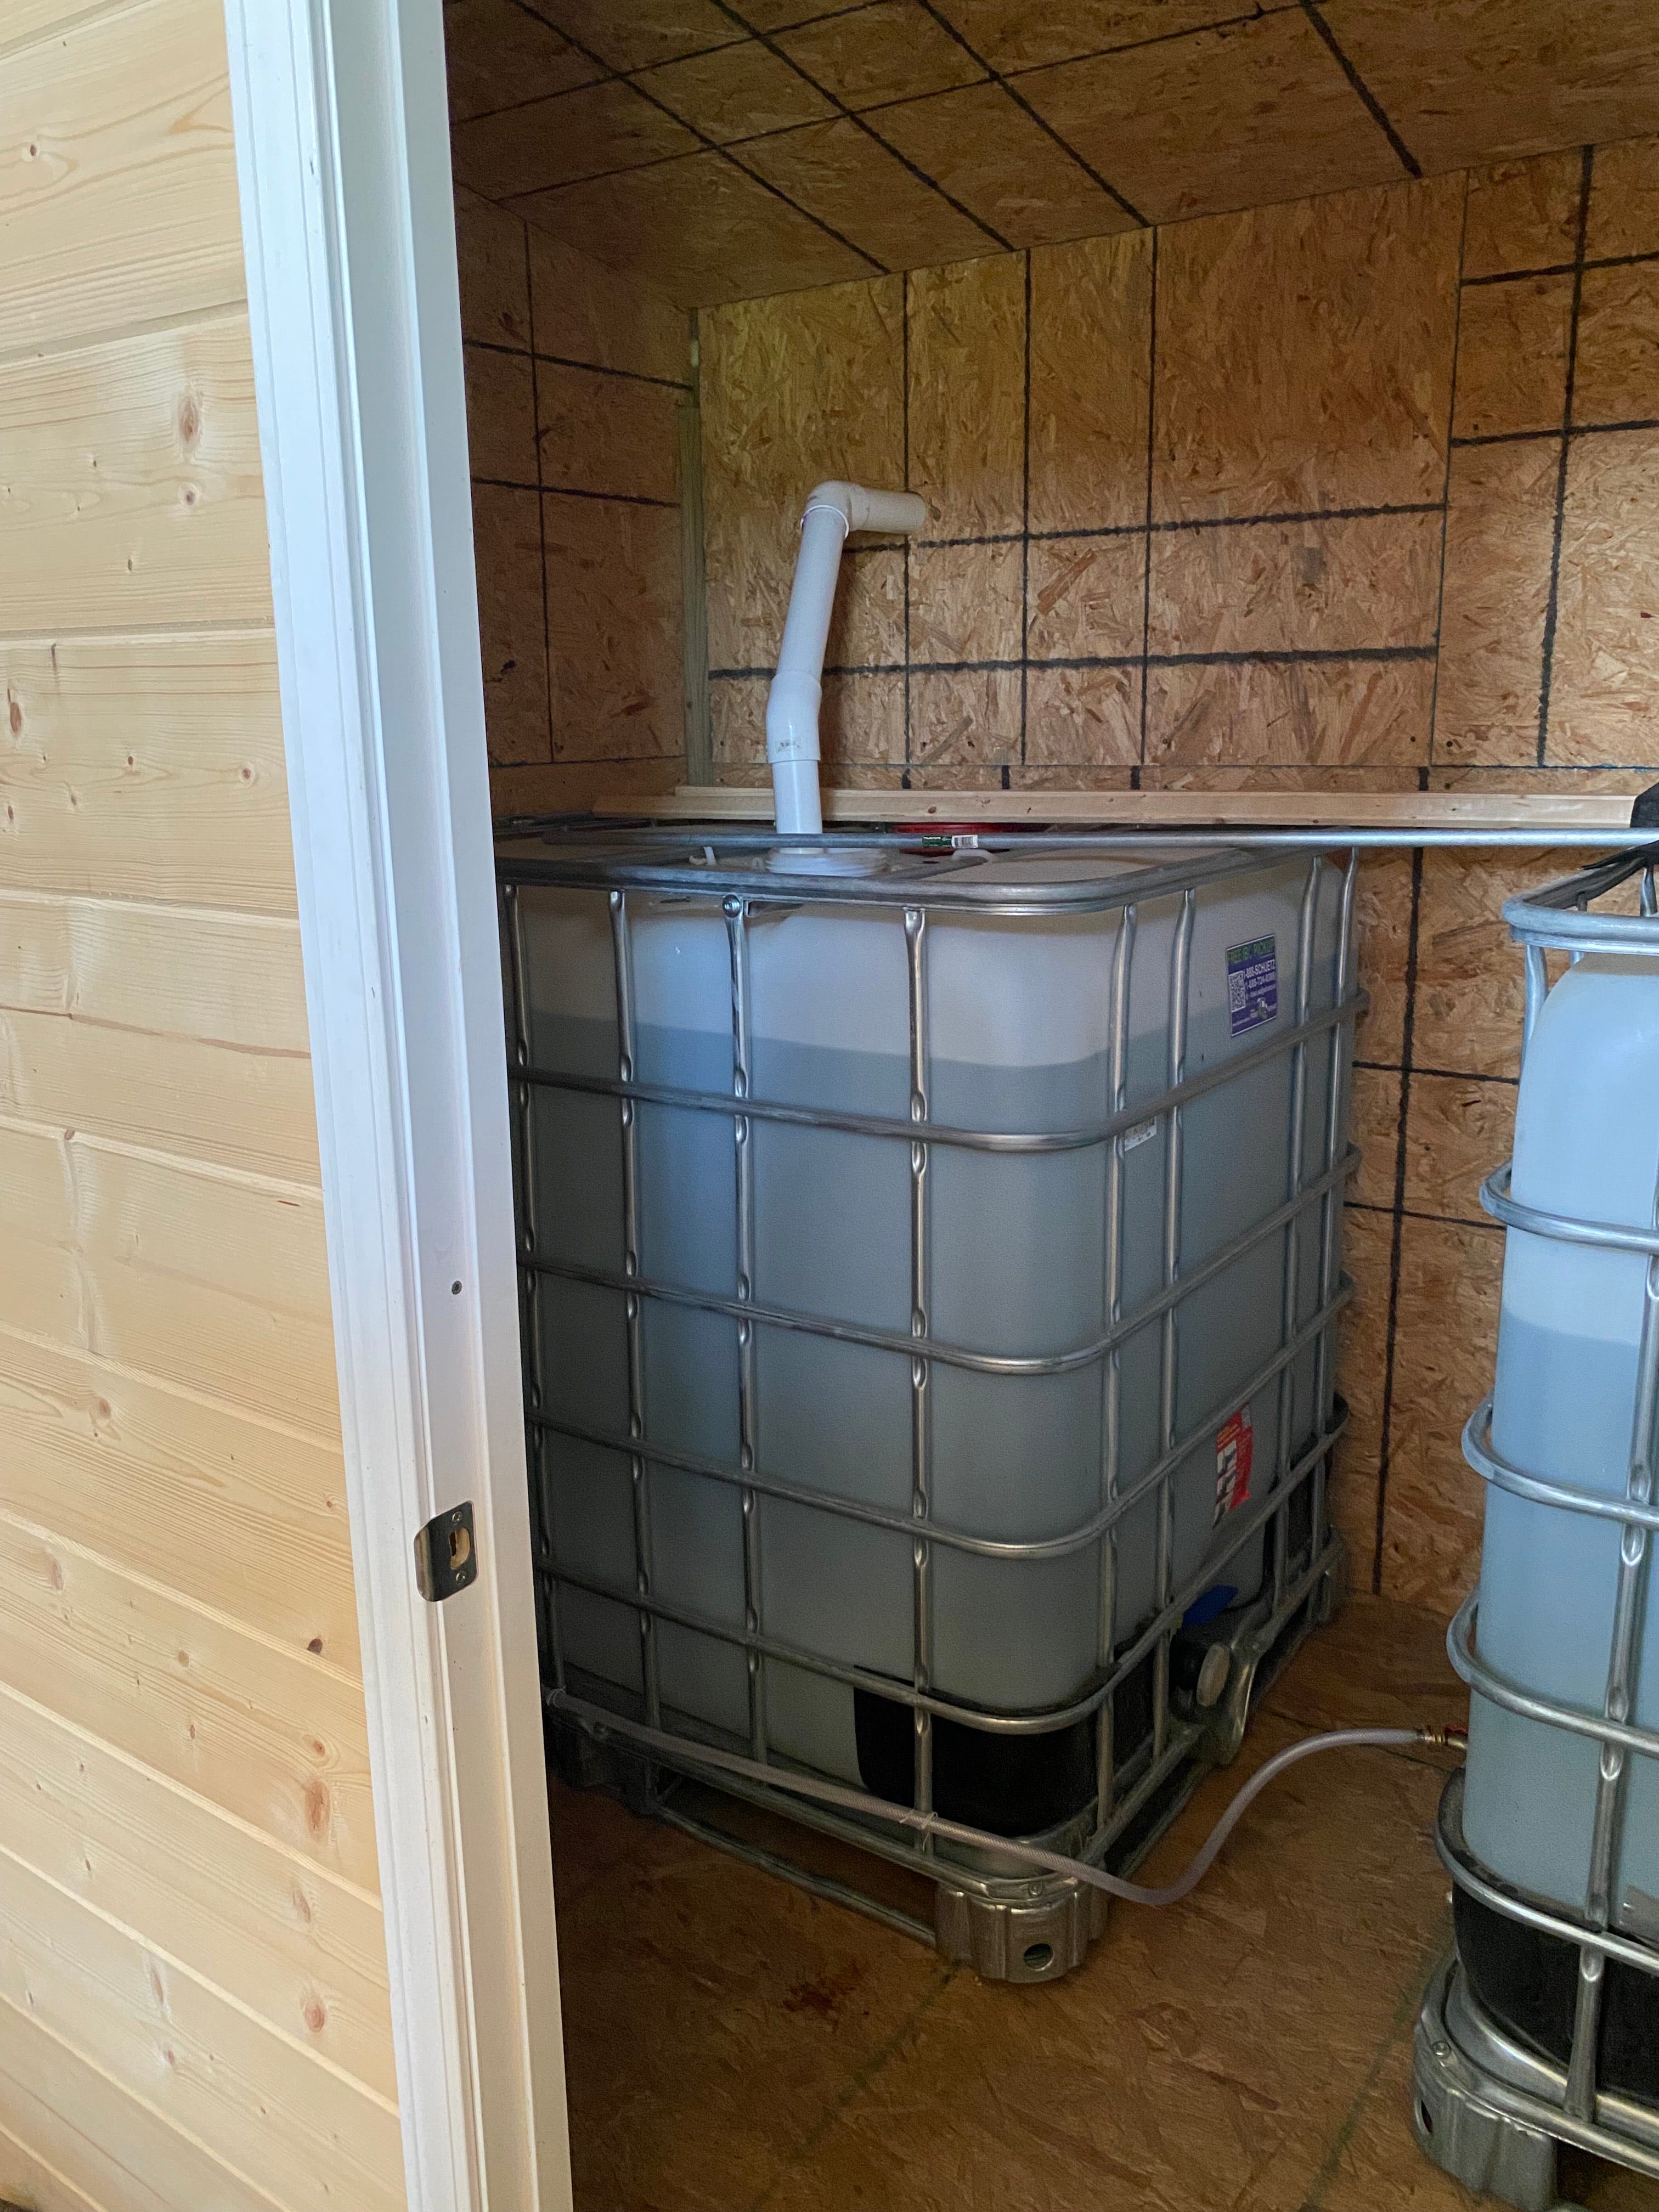
I’ve recently built a fully insulated, 12’x17’ structure that houses two 300 gallon IBC totes, our shower, laundry and bathroom facilities and includes a small wood-burning stove that will keep our water supply from freezing over the winter months. Admittedly, this is an elaborate solution that offers us comfort, convenience and year-round ease-of-use. But, we’ve chosen this life, and developing solutions that allow us to thrive here is a priority.
If you’re thinking about your prepping solutions with an off grid shower, there are four main components to consider.
Water Supply: spring, stream or rain catch are all great options
Water Storage: food grade storage barrels, IBC totes or even a large cistern can work
Water Delivery: Will a gravity fed system work, or do you need a small pump?
Water Heating: Is propane an option? Or, do you want to go really off the grid and heat with wood?
Hygiene can certainly be accomplished with a very simple solution. Even something as simple as a large pot or bowl that you fill with heated water for washing can work. Or like several of our Plain Folk (Amish & German Baptist) friends use, a 5-gallon bucket fitted with a shower head, set on a shelf, filled with water heated on the wood stove.
However, if you’re planning to use your off grid shower solution consistently & are accustomed to efficiency, I do think you’ll appreciate the functionality and convenience of something a little more robust.
Water Supply
First, let’s consider the water supply.
Since we’re talking about an off grid shower, I will ignore the obvious county/city water supply, but if you have that option available and want to use it then you can proceed in that direction quickly and easily. One thing that you will want to ensure is that you are using water that is appropriate for washing. You’re not going to be drinking or cooking with this water, so it doesn’t need to be from a pristine mountain stream, but it should be water that you would feel comfortable swimming in. If you are fortunate enough to have a year-round stream or a spring nearby, consider yourself exceptionally fortunate! Tapping these resources can offer a consistent and renewable source of water for your shower. But, even if you don’t have this luxury (we do not), most areas offer sufficient annual rainfall to provide plenty of water for your washing needs.
Let’s talk about rain catchment.
There is a simple formula you can use to calculate the amount of rain water that you can reasonably expect to catch. 1 inch of rainfall on 1000 square feet of roof space will yield roughly 600 gallons of water. Let’s scale this down to the example that we’re using currently. Our roof space is 12’x17’, or 204 square feet. 204 square feet x 0.6 (600 gallons/1000sqft) = 122.4 gallons of harvested water per 1 inch of rainfall. The average annual rainfall for our region of the country is about 39 inches. So, when we’re able to catch ~122 gallons per inch of rain, that offers us roughly 4800 gallons of water to use through our shower system each year. I can tell you from experience that, with proper management of the water supply, this is more than enough to keep you clean and your clothes washed throughout the year. With 600 gallons of insulated water storage, this was sufficient to get us through last winter, which turned out to be a relatively cold, frozen season.
Water Storage
In order to finalize your water supply, you will need to add guttering, inlet/overflow piping and a storage tank to make sure you’re able to catch and manage the rain water.
I’ve found that 2” PVC pipe is sufficient to handle even the heaviest downpour rain that we get, and there are times when we get a LOT of rain in a short amount of time. In fact, just yesterday we had a thunderstorm come through and dump about an inch of water in 30 minutes. No spill-over and no flooding from our tanks. Great success! While the 2” PVC is fine for our application, please remember that we’re catching off of a ~200sqft roof space. If you have a much larger roof space for water catchment you’ll want to calculate your estimated maximum flow rate (use 1 inch of rain in 15 minutes to estimate a hard downpour).
Here’s an example:
Assuming a 1000sqft roof space catching 1 inch of rain in 15 minutes, what would the water flow rate be, and what size of PVC pipe will accommodate that volume of water? The calculation works like this, 1000sqft of roof will catch ~600 gallons of water as that inch of rain falls. That equates to about 40 gallons of water traveling through the PVC pipe and into your tank every minute. Below is a table showing the flow rate that different diameters of PVC pipe can accommodate in a gallons/minute format:

One often overlooked need is an overflow outlet. If your storage tank is inside of a building (or in a basement) this is a little more obvious need. You won’t want excess water spilling out over the top of your tank and into your indoors space. But even tanks stored outside can benefit from an overflow outlet, which will allow you to direct the flow of the water and avoid erosion around the base of your tank. An overflow outlet is a hole, at or near the top of your water storage tank, that allows water to exit the tank when it’s sufficiently full. You will want the pipe for this outlet to be the same diameter (or larger) as your inlet pipe so that you don’t run the risk of your outlet being outpaced by water input.
The easiest solution I’ve found for this is a “bulkhead” fitting. A bulkhead fitting creates a pass-through hole in the top of the tank that is already set up to accept a piece of pipe (threaded or glued), which you can direct out and away from the tank, and your building.
So, what kind of tanks should you choose? There’s really no hard-and-fast rule for this. If you have a tank that holds water (and doesn’t leach something nasty into the water), that’s really the only requirement. But we can do better than just “good enough”. For long term water storage, IBC totes work really well. They offer a good quantity of water (usually about 300 gallons), and in most cases they include a ball valve outlet that is often already made to accept a “banjo” fitting, which makes adjustments easier than using threaded or glued pipe fittings. But, even if you don’t have space for an IBC tote (or two), a 50 gallon water barrel will work, and you’ll be surprised at how long 50 gallons of water will last if you’re thoughtful about how you use it.
Pro Tip: If your water storage tanks will end up sitting outside in an area where the sun will hit them regularly, make sure that they are covered or painted in order to reduce/eliminate algae growth in the water. Also, we recommend using 3% food-grade hydrogen peroxide, (or better yet 35% food-grade, we have this available to us through a local Amish supply store). Add about 1/2 cup (4 oz) of 35% hydrogen peroxide per 250 gallons of water (or 1 cup of 3% per 50 gallons as a rough equivalent) will help to eliminate the threat of parasite or algae growth in your water.
Water Delivery
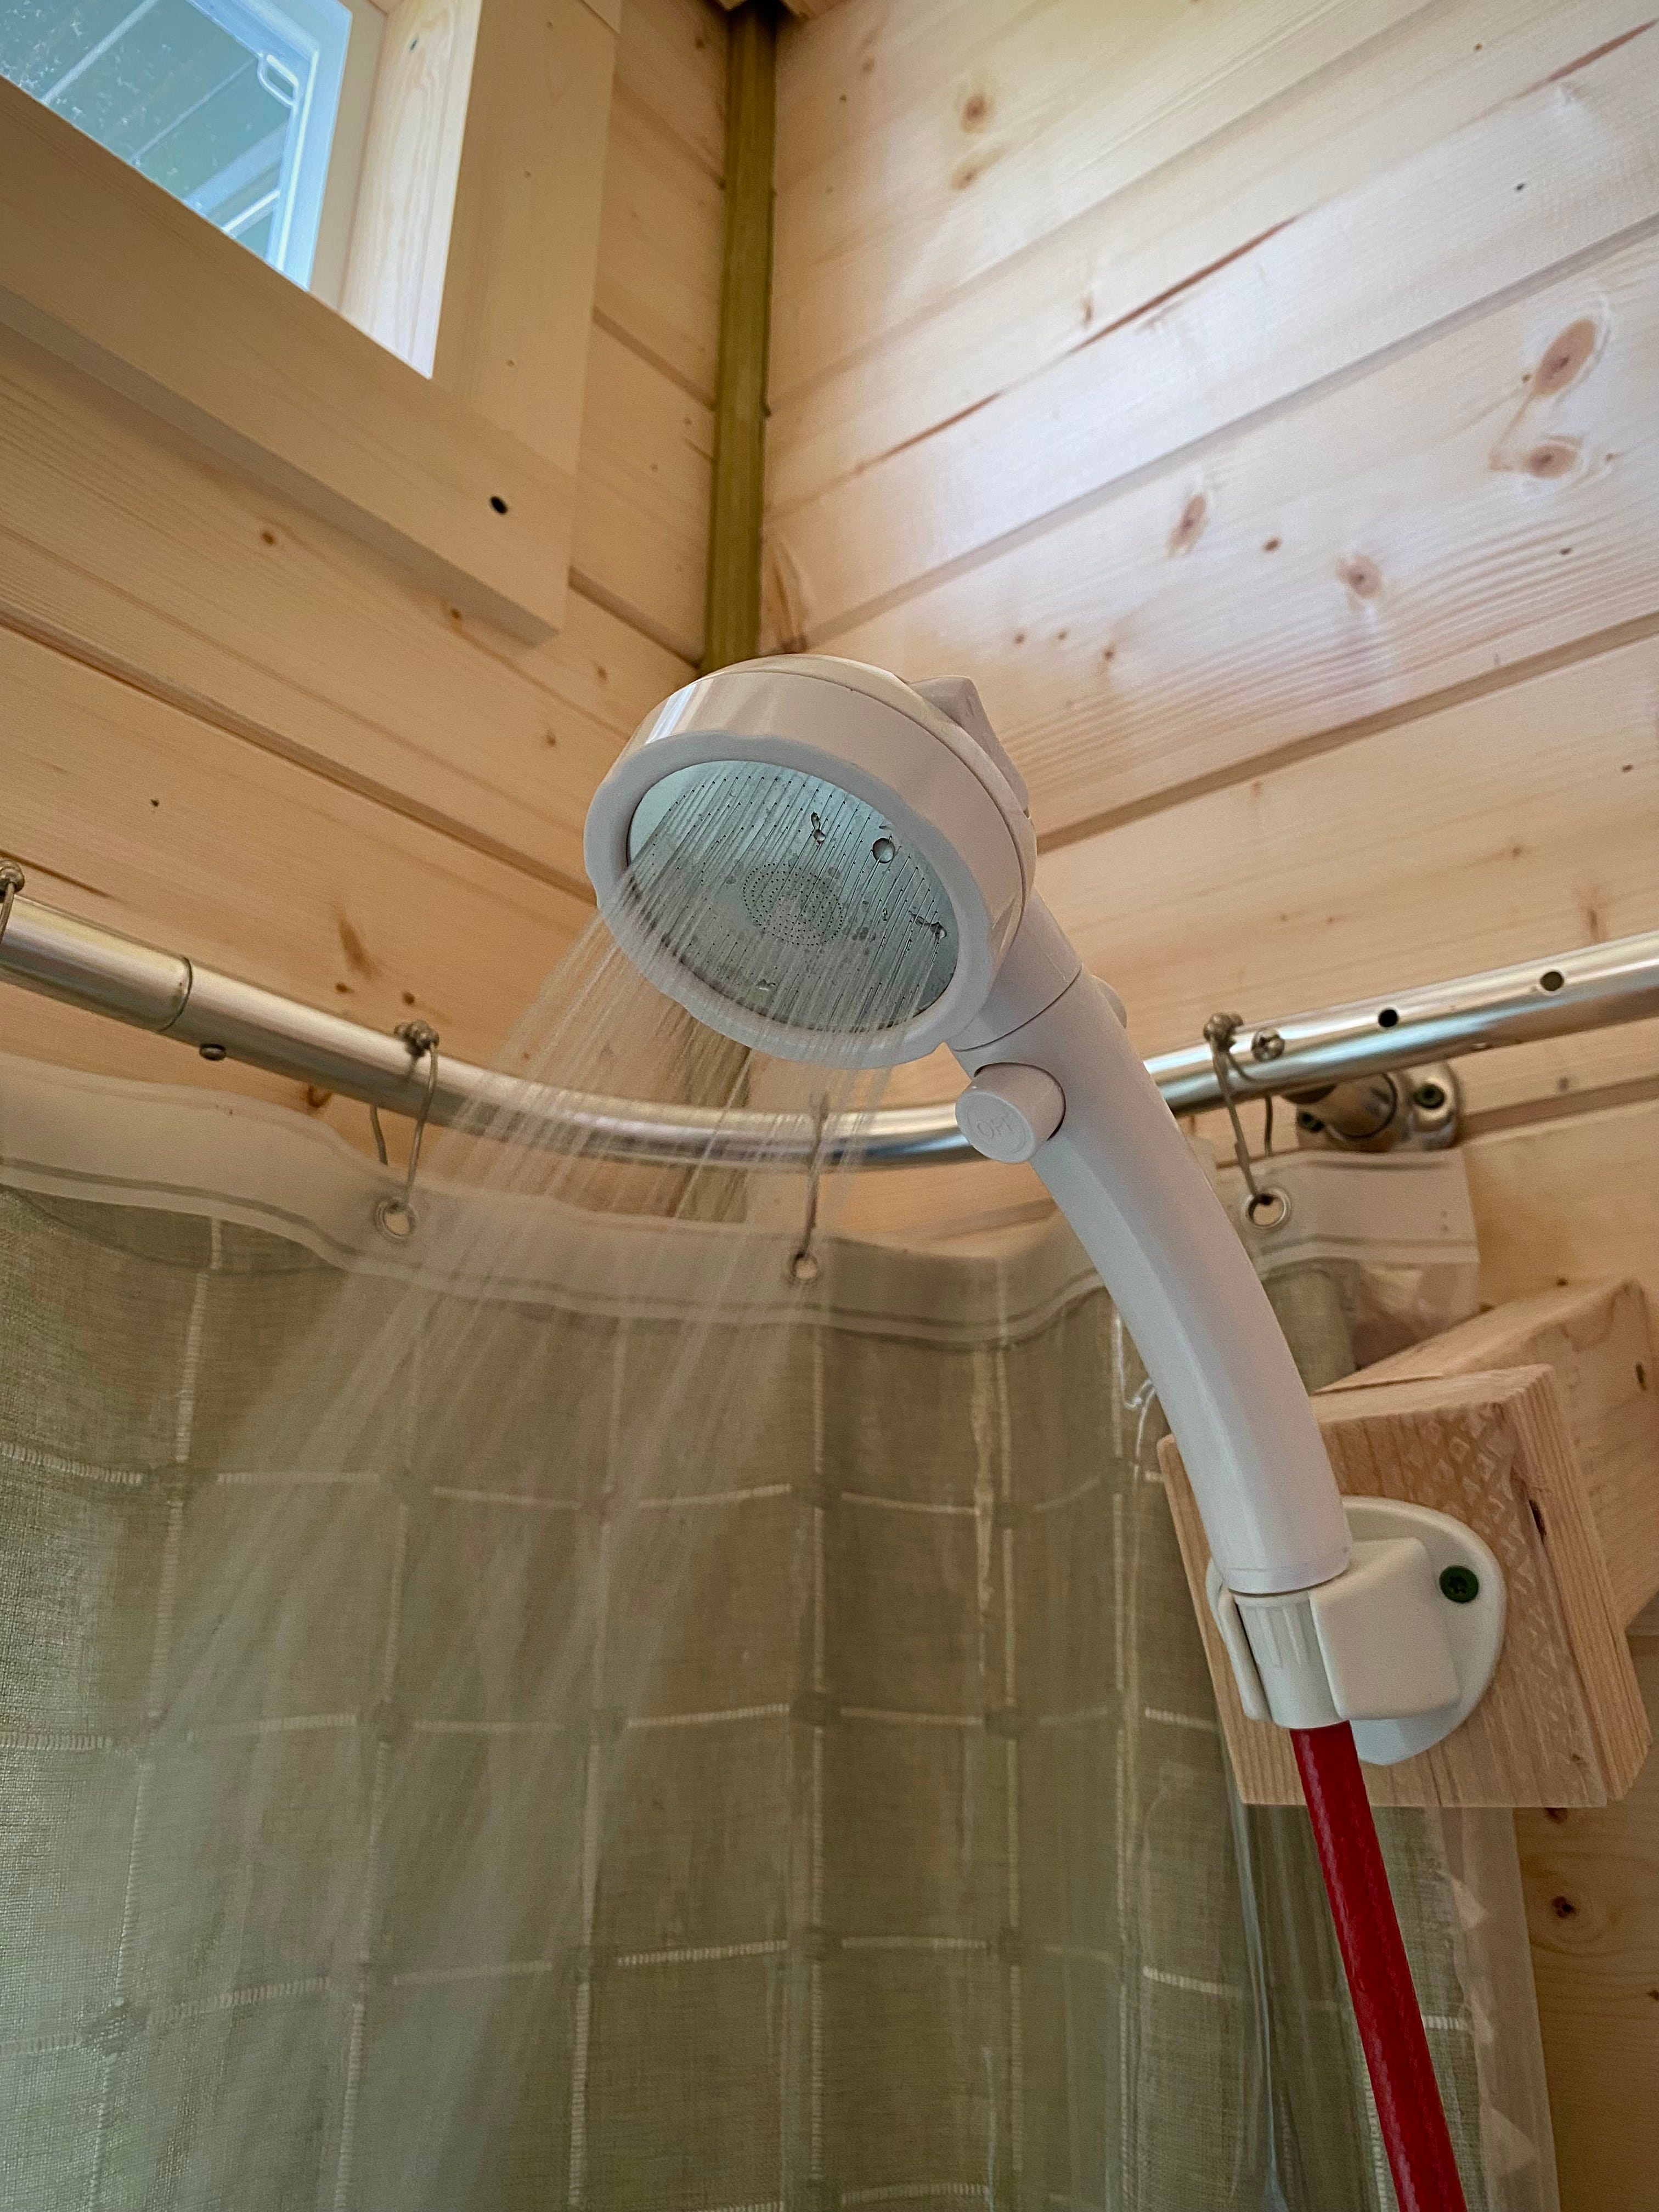
Now that we have a water supply, collection and storage solution set up, we need to be able to deliver the water, through your heating element and into your shower head.
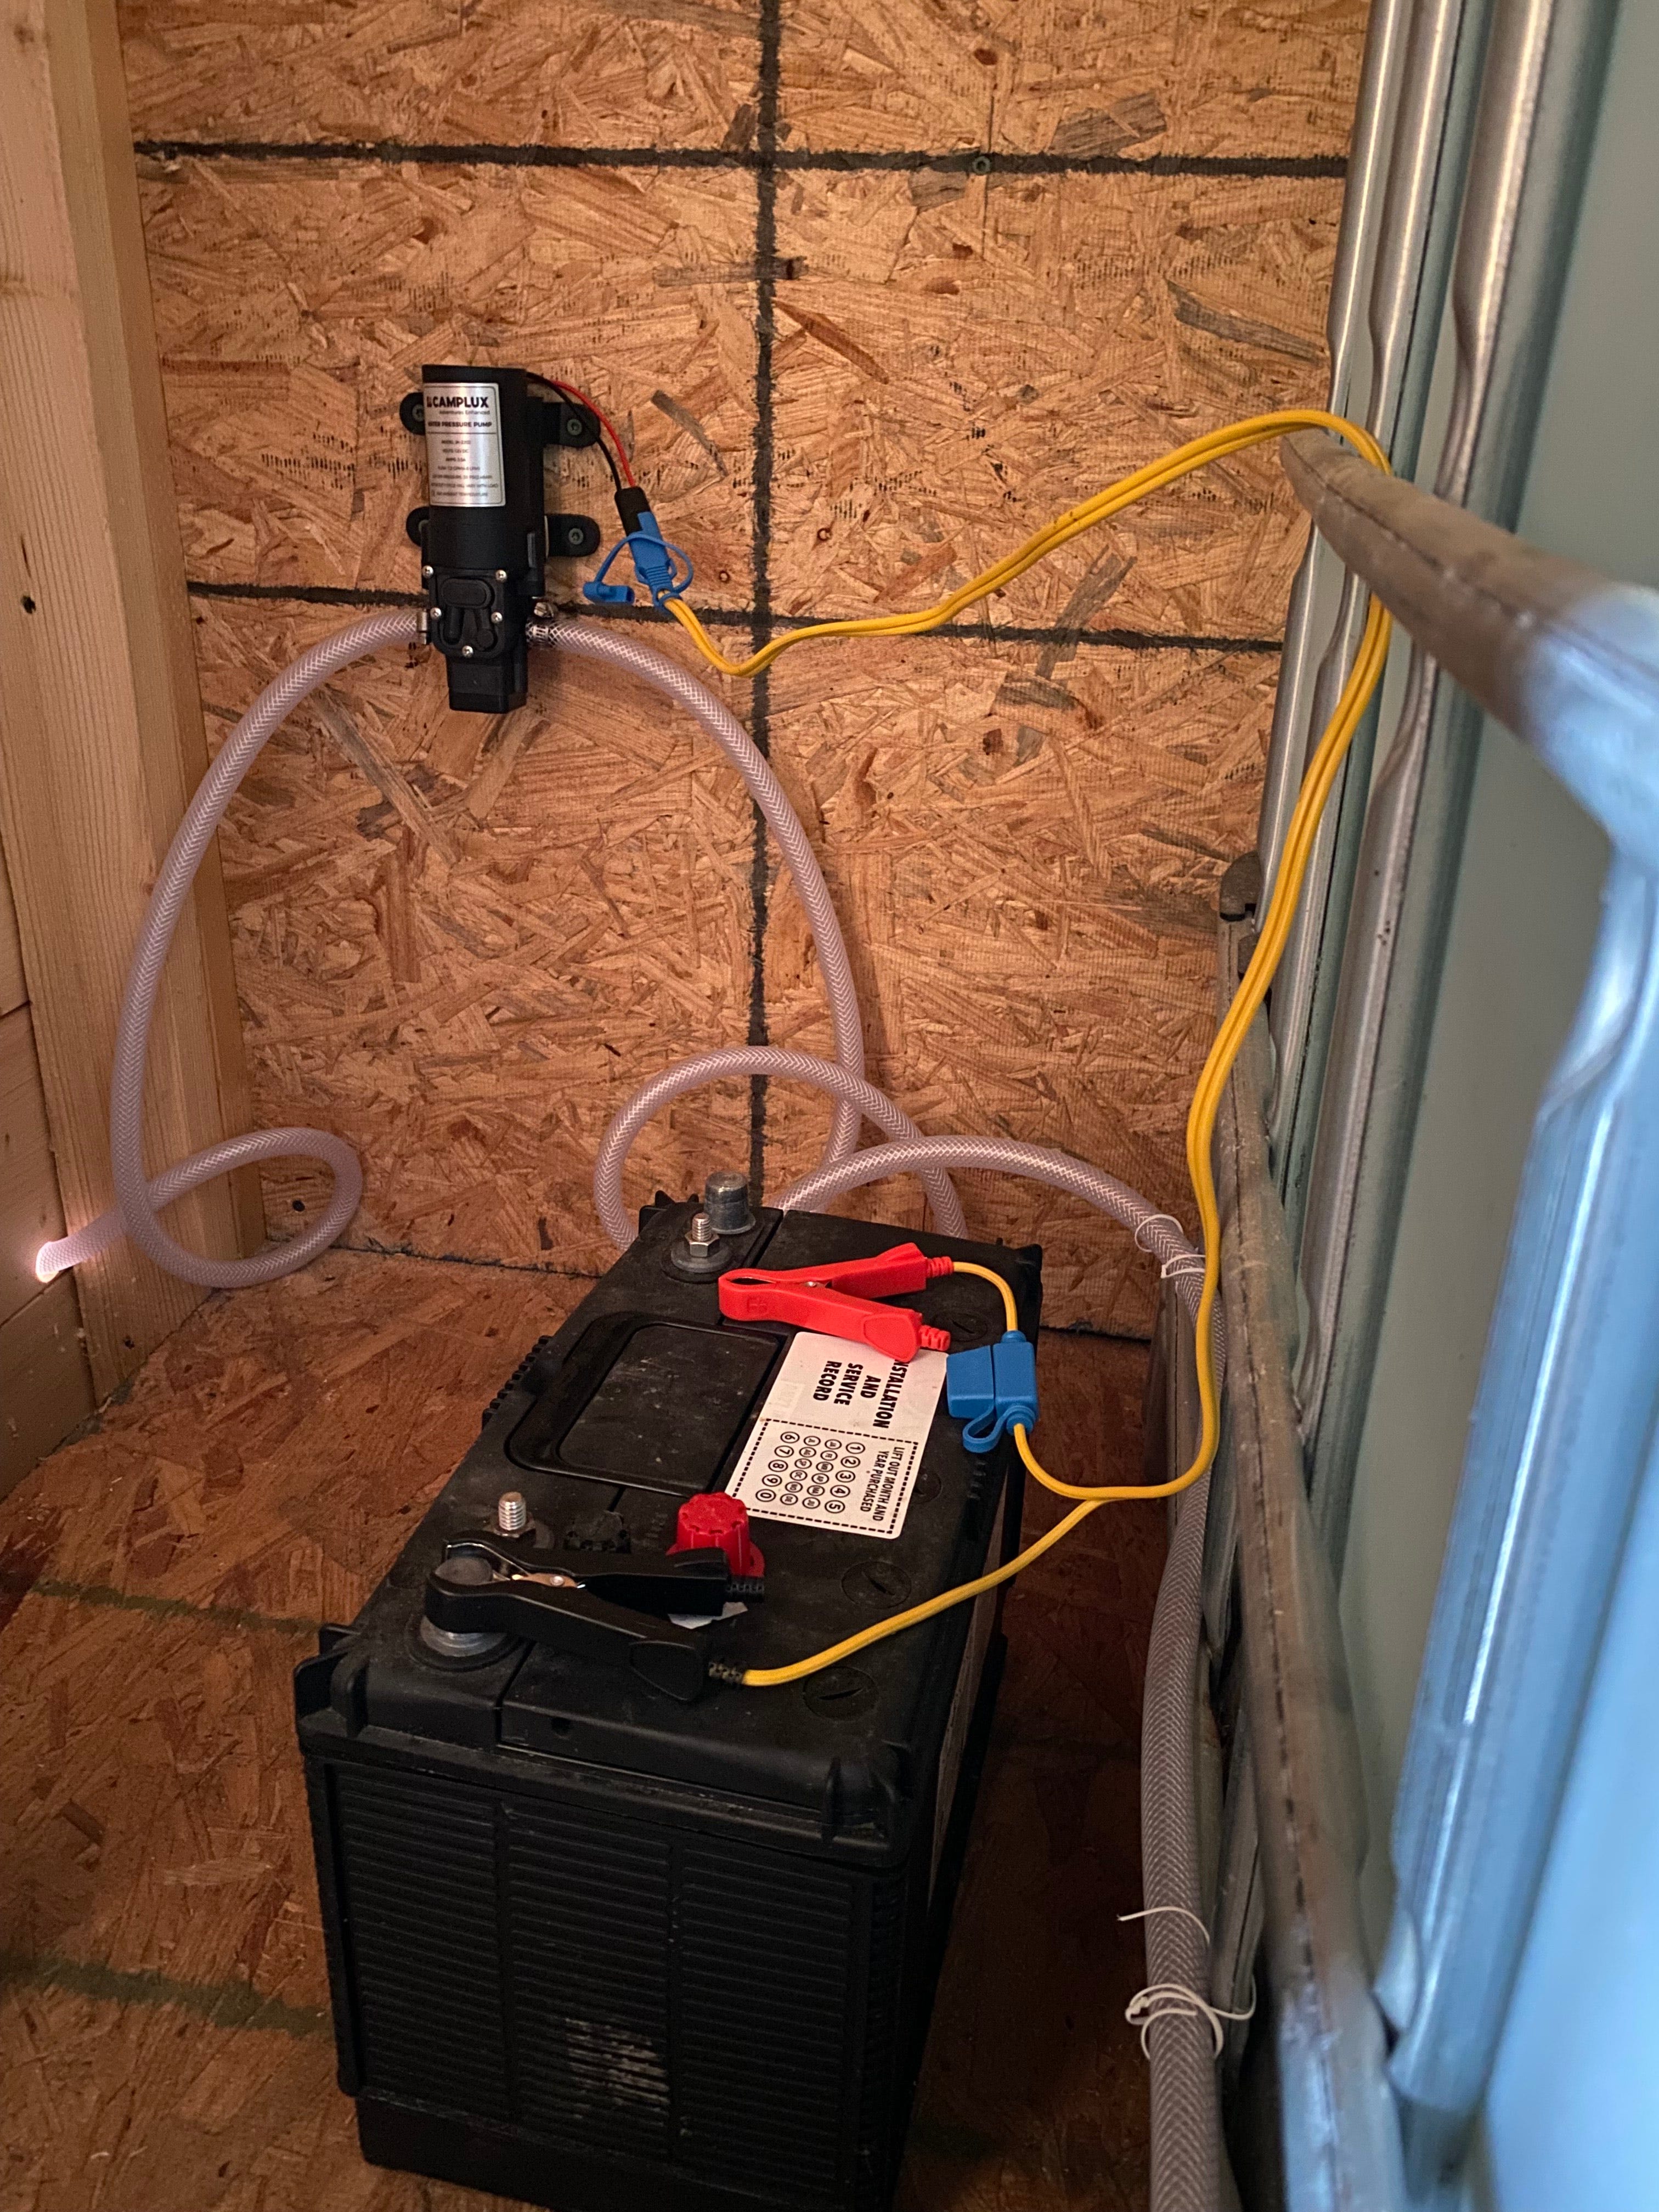
This can be accomplished in a couple of relatively simple ways. For our shower solution, we use a small, 12 volt pump (~1.3gpm flow with 35psi shutoff), powered by a solar-charged, 12V battery to pull water from our storage tanks. Even before we had a direct solar charging option, one 55 amp hour battery would usually last a couple of weeks between charges. When paired with 3/8” reinforced vinyl tubing (I don’t recommend plain/non-reinforced vinyl tubing due to the lack of structure. The pressure of the pump can stretch the tubing and cause leaks at your connection points.), this creates a relatively maintenance-free solution. Of course, the simplest solution for water delivery is always gravity. Your choice here will likely be unique to your set up. If your storage tank location allows for easy gravity fed delivery, that’s a great solution. But if not, the simple, 12v pump option is one that is very versatile and can deliver water across a relatively long distance.
Water Heating
Probably the most simple, and relatively inexpensive heating option is a propane-fueled tankless water heater. The unit that we use, came with a pre-installed propane hose (with regulator) that connects directly to a standard 20 pound propane tank. And, even with consistent use, we find that one 20 pound tank will last us roughly three months. We get our propane tanks refilled in a local town and pay roughly $13 per fill, so $52 per year is pretty cost efficient for our needs.
But, what if you can’t get propane to fuel the water heater?
What if prices increase and turn that practical option into a burden?
We still have options.
Over this coming winter, I will be building and installing a copper coil water heater on our wood burning stove. I will bring you along for that journey as it happens, but for now I’ll talk through the concept.
The first step is to bend a small-gauge (1/4”) copper tubing into a coil that will fit around the chimney of our wood fired stove. I’ll choose a form to wrap the copper tubing around that is slightly larger in diameter than my stove pipe. I don’t want the copper to contact the stove pipe, but to be about 1/8” away. The small diameter tubing offers a high surface area-to-volume ratio, which helps the water to heat quickly. Given my flow rate of 1.3gpm, I am going to start with a 10 foot section of copper tubing and test the water temperature. Hopefully this will be enough, but if I need to I will add another 10 foot section of coiled copper tubing to heat the water a bit more. The goal is to get a heated water temperature between 100-120F (safe, warm, comfortable for washing) and to ensure that the temperature remains below 140+F (scalding). More to come, but as you can see, even without grid-adjacent propane, you can still bathe in style and comfort.
Where to Set Up a Shower?
Now let’s talk about where you’re going to shower.
Your options for this are only limited by your imagination. If you have adequate privacy, you may not need to do anything else. But, most often you’re going to want some kind of covering. Our prior shower was outdoors. I used two long pallets to create a 4’x4’ space on the side of our cabin and added a tension rod to hold a standard shower curtain for the entry. This was a great solution, but during the cold winter months it proved problematic.
But we keep improving!
Our latest iteration is one that will last and offer us a very comfortable space for many years to come, is fully insulated and houses everything we need. Our water storage is held in a separate room in the back of the building, and with a small fire on the coldest days, we’ll keep it flowing all year round.
I hope this has inspired you to realize that when you leave the city for the sticks, you don’t have to leave behind your ideals for a high quality life. You are capable of creating what you need and want, in both worlds. The level of comfort and efficiency we enjoy in our off grid setting is up to us, and we continue to improve.
Have you built an off grid shower? Do you have different options that you think work really well? Do you have any questions I can help answer for the sake of clarity? I would love to hear about it!
—Adam
Our Off Grid Life