


From Generator to Independence: Building Our Off-Grid Solar Power System


When we first stepped into the world of off-grid living, I did what many people do, I purchased an all-in-one solar generator. Our first system was a Goal Zero Yeti 3000 paired with three Boulder Briefcase panels. At the time, it felt like a solid step in the right direction. But it didn’t take long to discover its limitations.
First, the 3,000 watt-hour capacity was simply not enough for our daily needs. I’ll talk about sizing a solar power bank in more depth in another post, but in general I wanted to be able to run our most precious needs (think frozen food) from the batteries for at least 24 hours without any additional solar input. We weren’t even close. And, expanding the capacity of an all-in-one device proved to be problematic. Second, while the Yeti's outlets were rated to handle significant power loads, they struggled with extended use. This raised a red flag. I began to realize that these all-in-one systems are better suited for temporary or emergency use, not for the constant, everyday function that off-grid life requires.
After repairing and replacing that Yeti unit more than once, I began to realize: with an all-in-one unit it’s really hard to isolate problems and fix individual pieces/parts. I finally made the decision to build my own system using more robust and more easily expandable, standalone components. I scoured online forums and video tutorials, but what made the biggest difference was finding a local Amish solar expert who took the time to explain each part of the system and how they all work together. It was through that hands-on guidance and patient instruction that I gained the confidence to build a system that could truly power our life independently, every day, and in every season.
What We Power Daily
To give you a sense of what this system supports, here’s what we run on solar power every single day:
A 12V DC 21 cu. ft. chest freezer
An AC 7 cu. ft. chest freezer
A 12V DC 10 cu. ft. refrigerator/freezer
A laser jet printer
Multiple mobile devices and laptops
A small window-unit air conditioner
Kitchen appliances
A water pump for the kitchen sink
Our Solar Power System Components
One great benefit of building a solar power system from the ground up is that I’ve become intimately aware of each component, its function within the system, what can go wrong and how to improve it when an issue arises. I’ve built our system with room to grow, and I’m always looking to expand both panel input and battery storage. Here’s the current setup:
VictronConnect 250|100 MPPT charge controller
VictronConnect 150|70 MPPT charge controllers (x2)
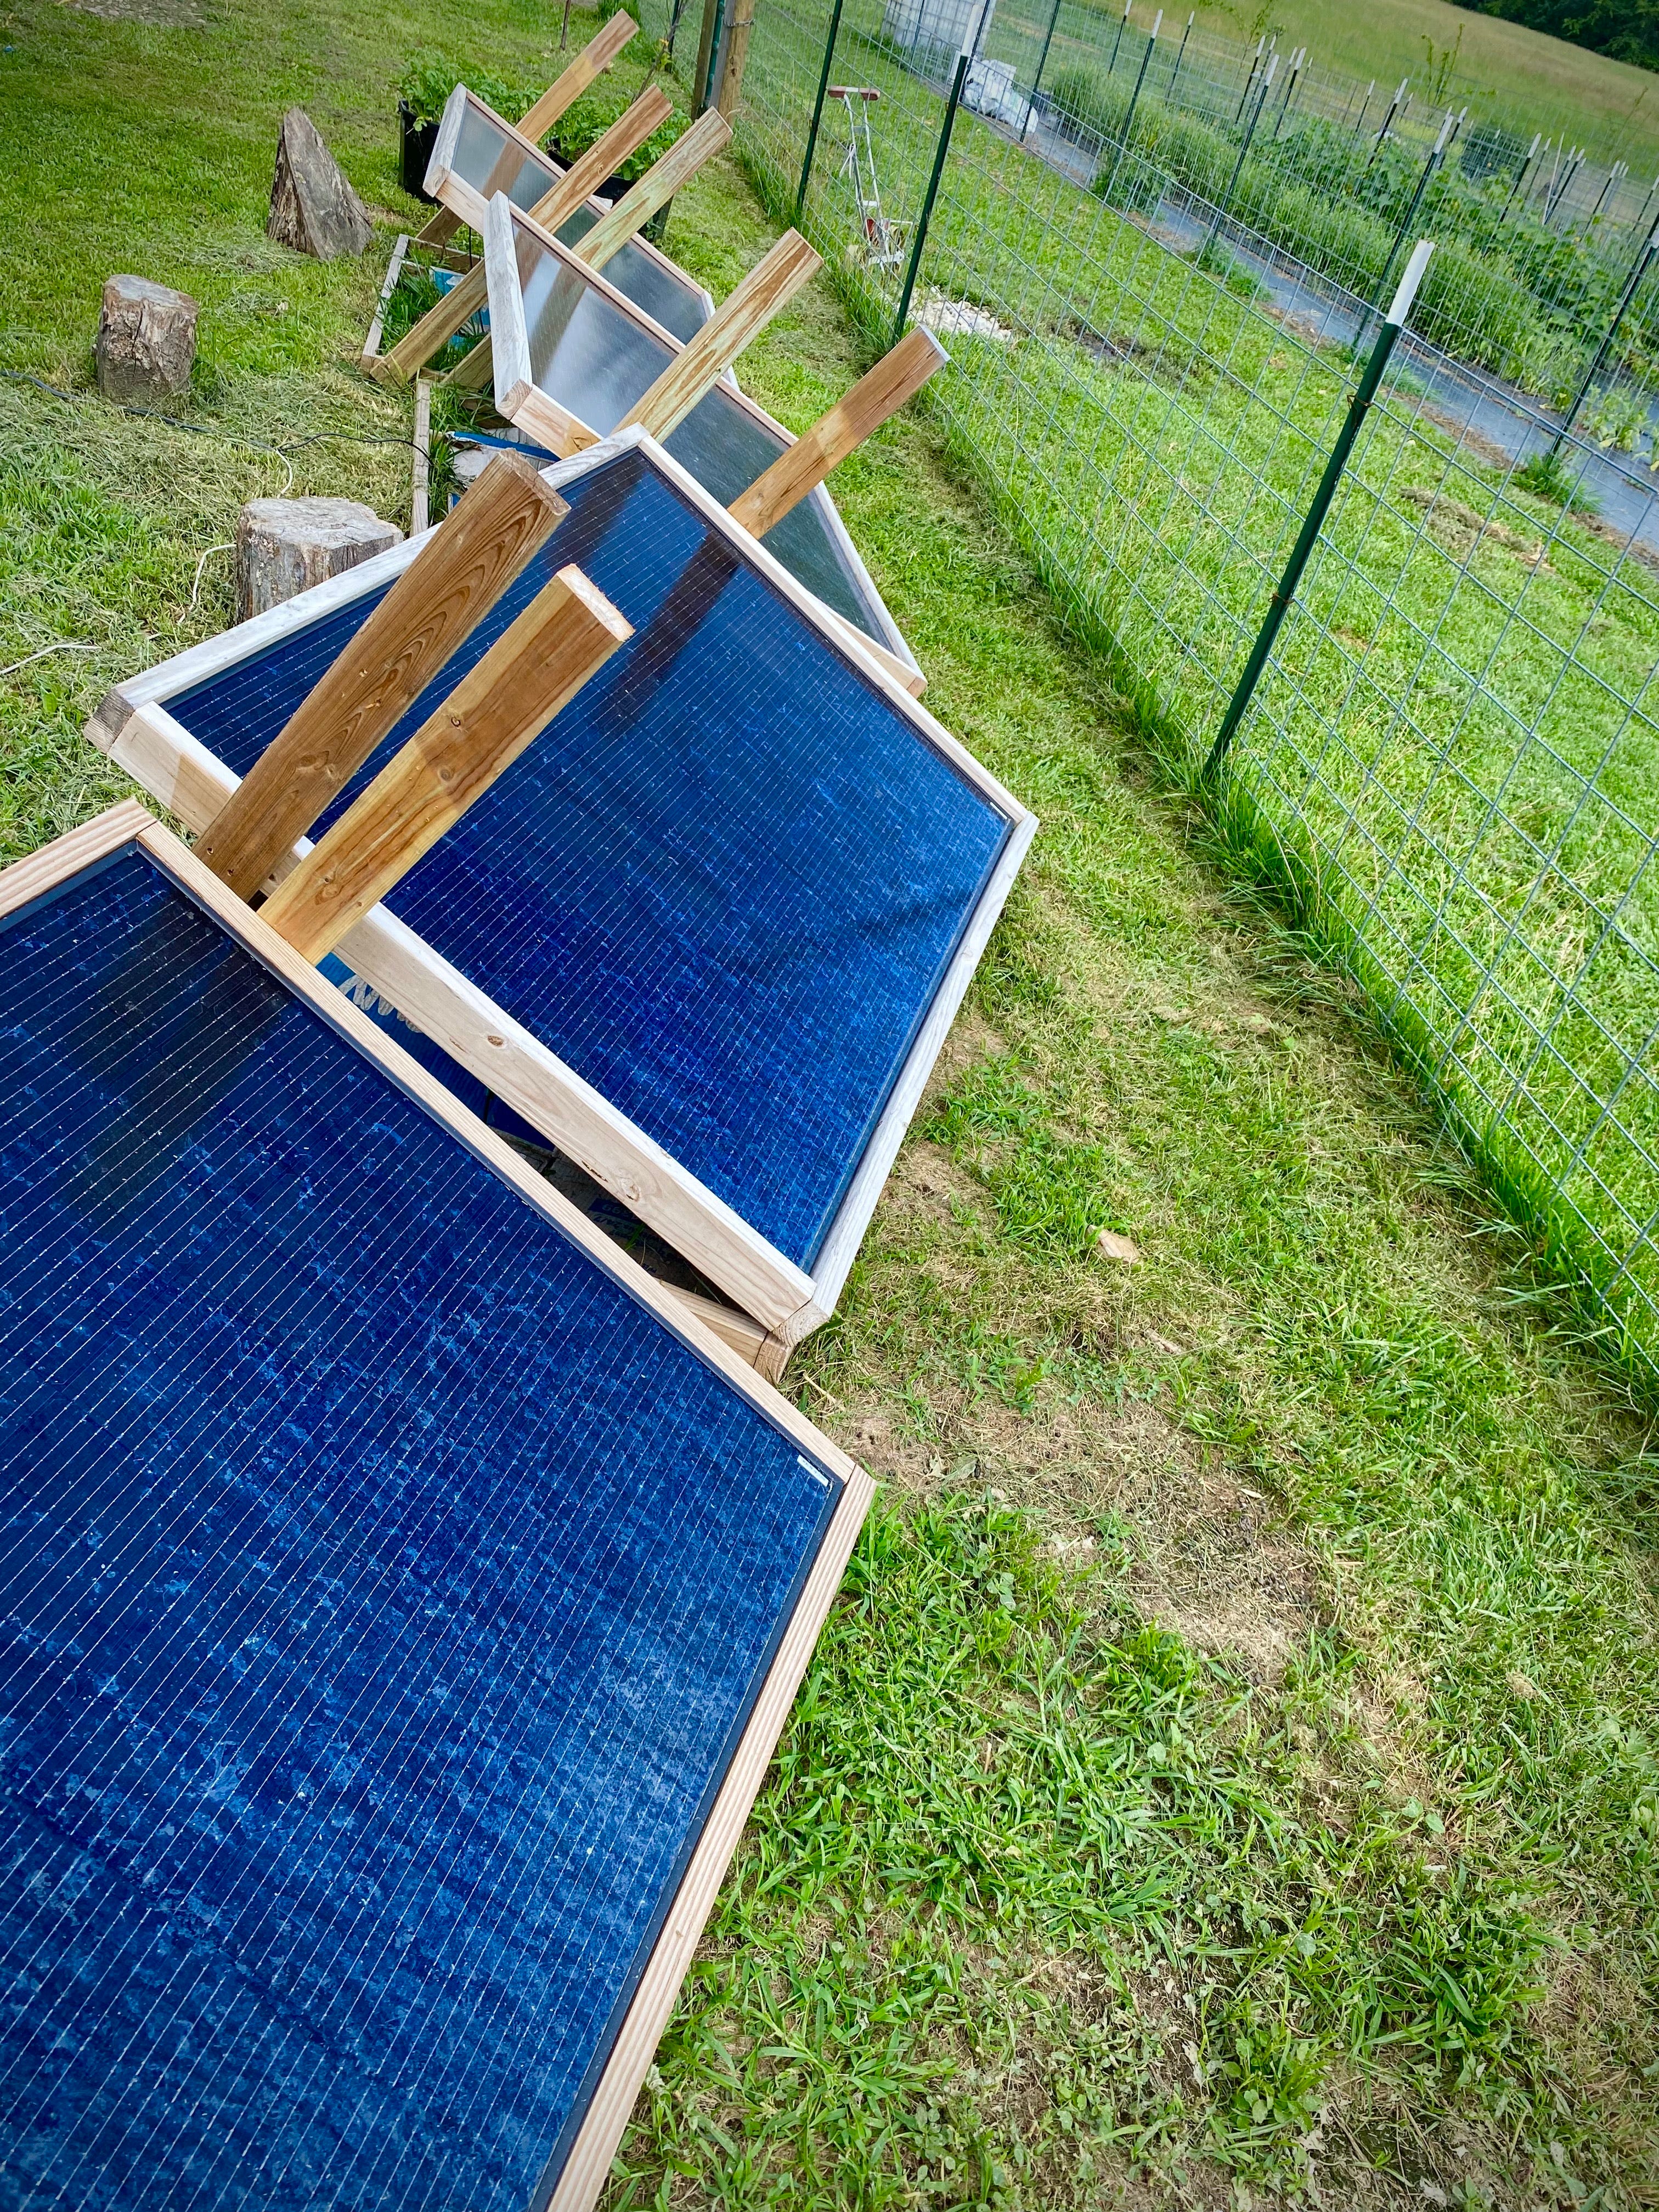
400W bi-facial solar panels (x6)
Giandel 3000W pure sine wave inverter
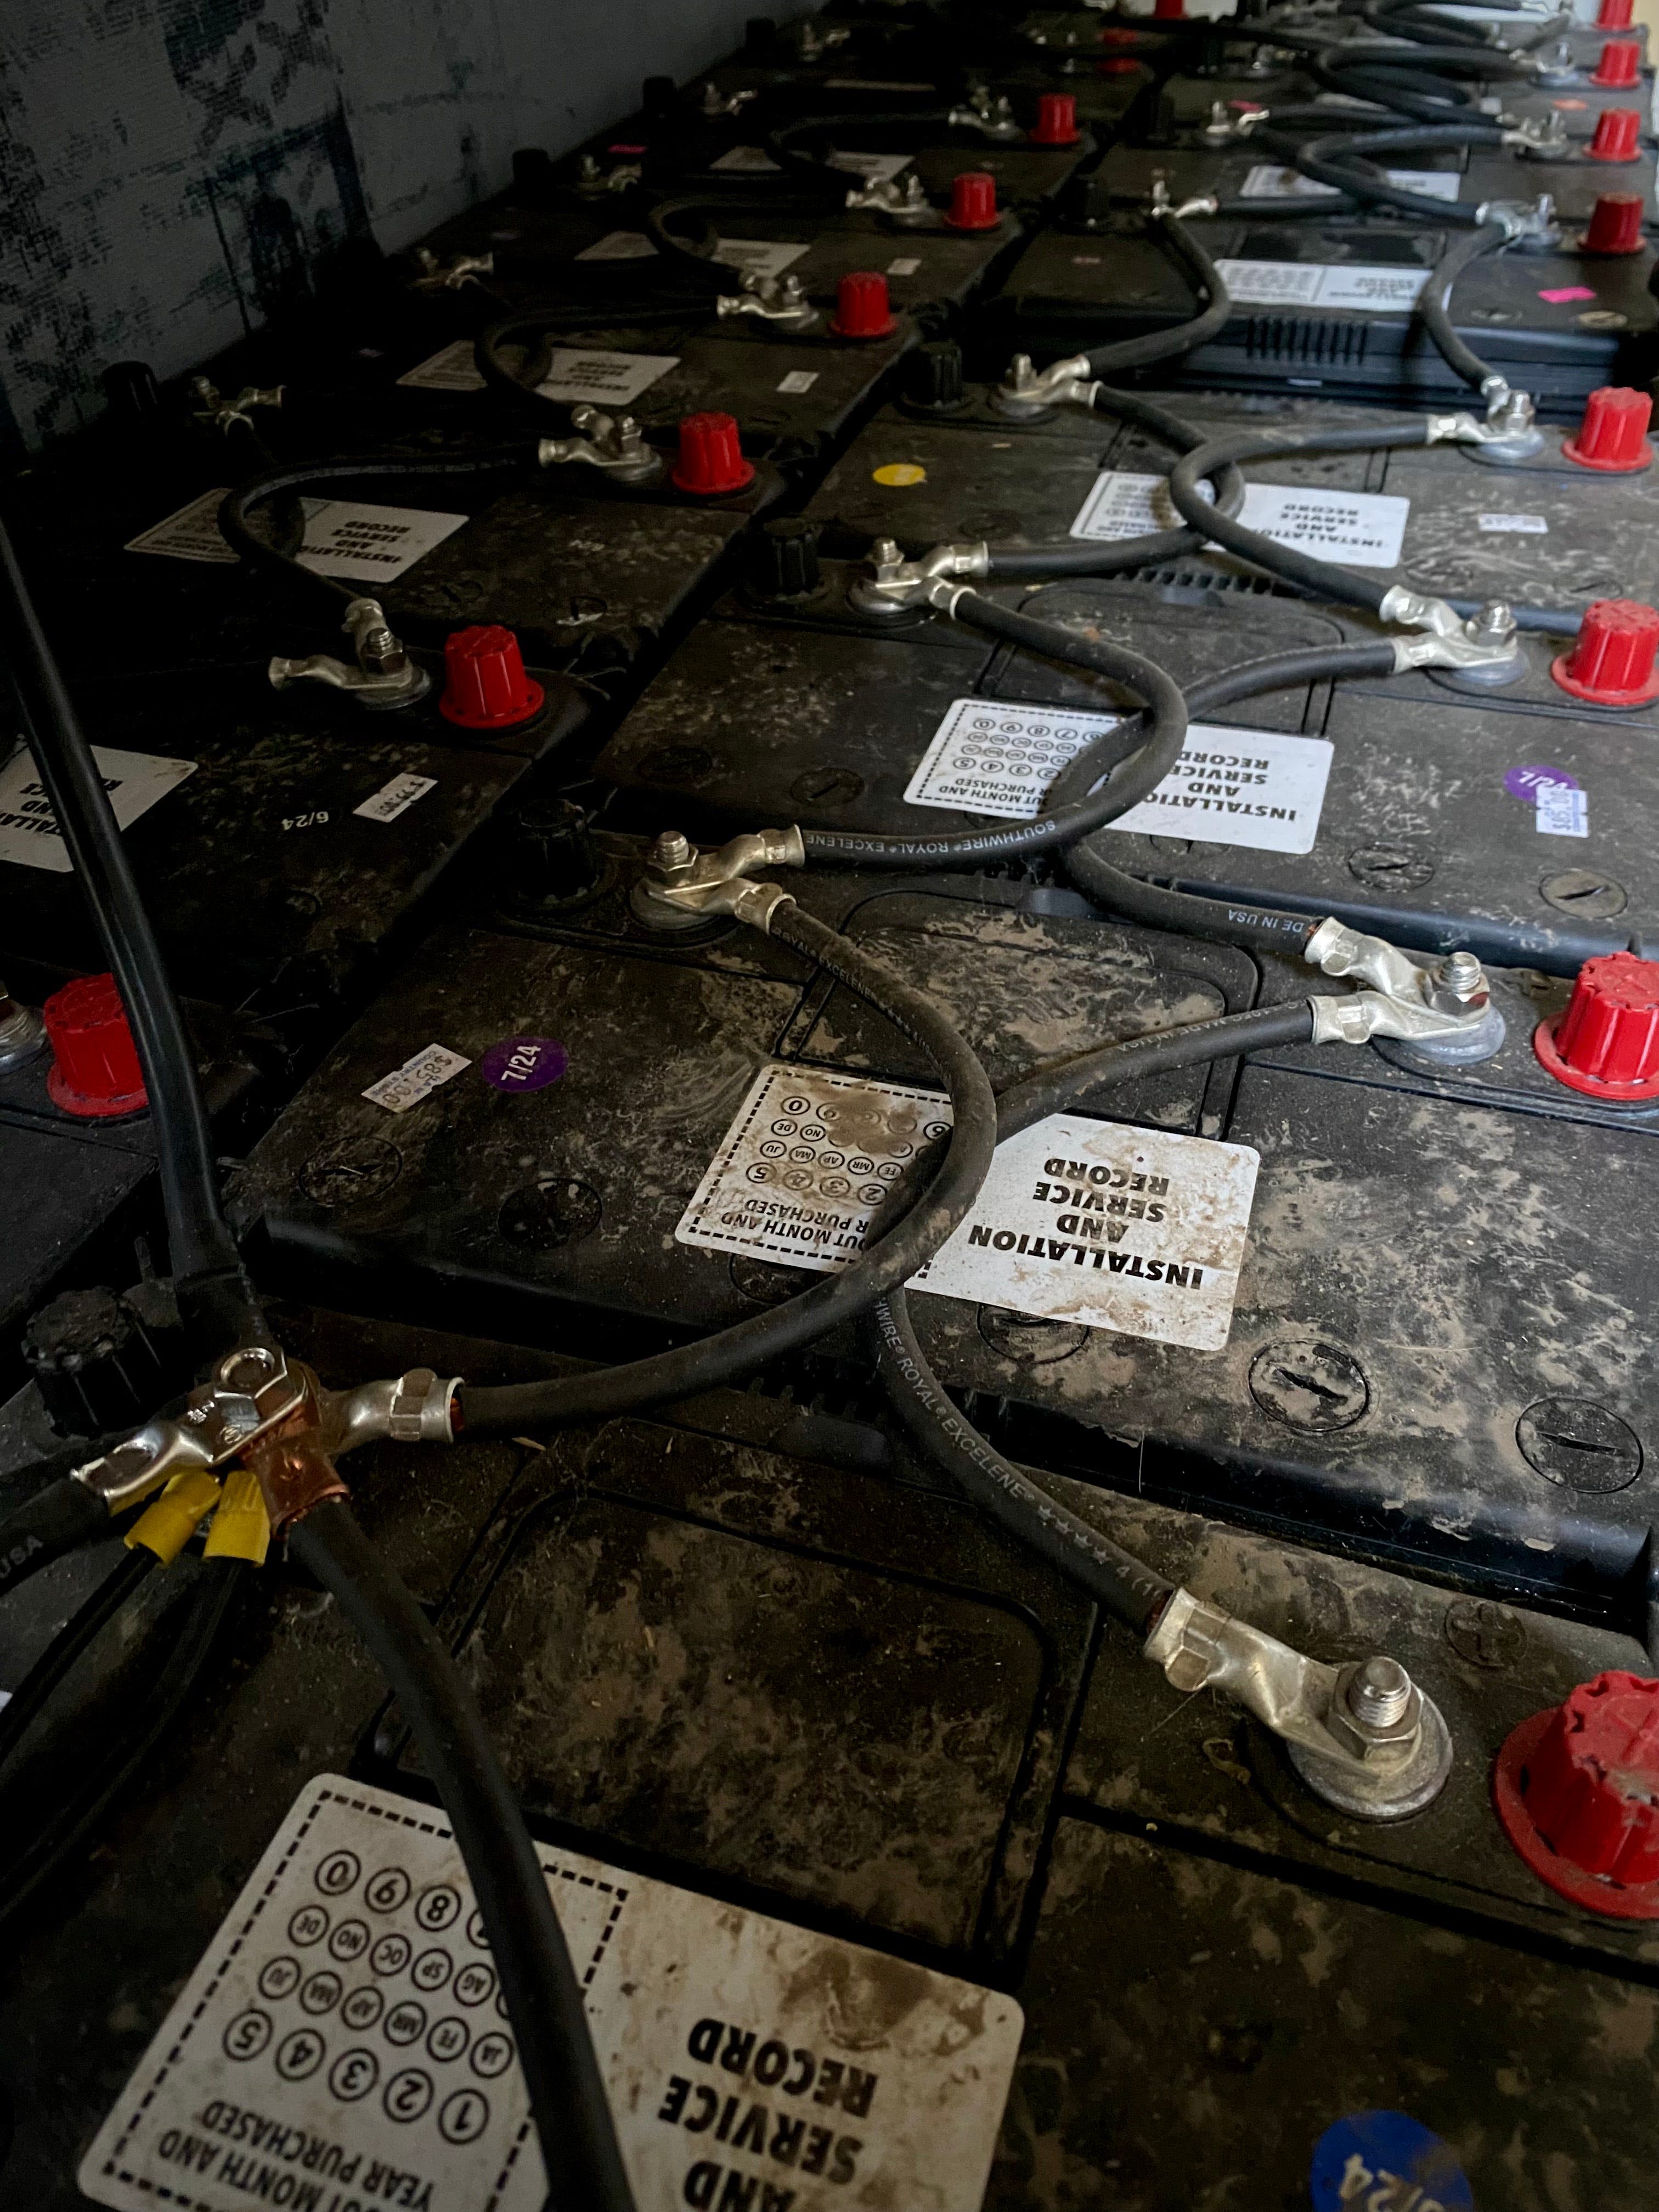
Lead-acid batteries, 88Ah each (x17)
RecPro 55A smart converter/charger for generator backup
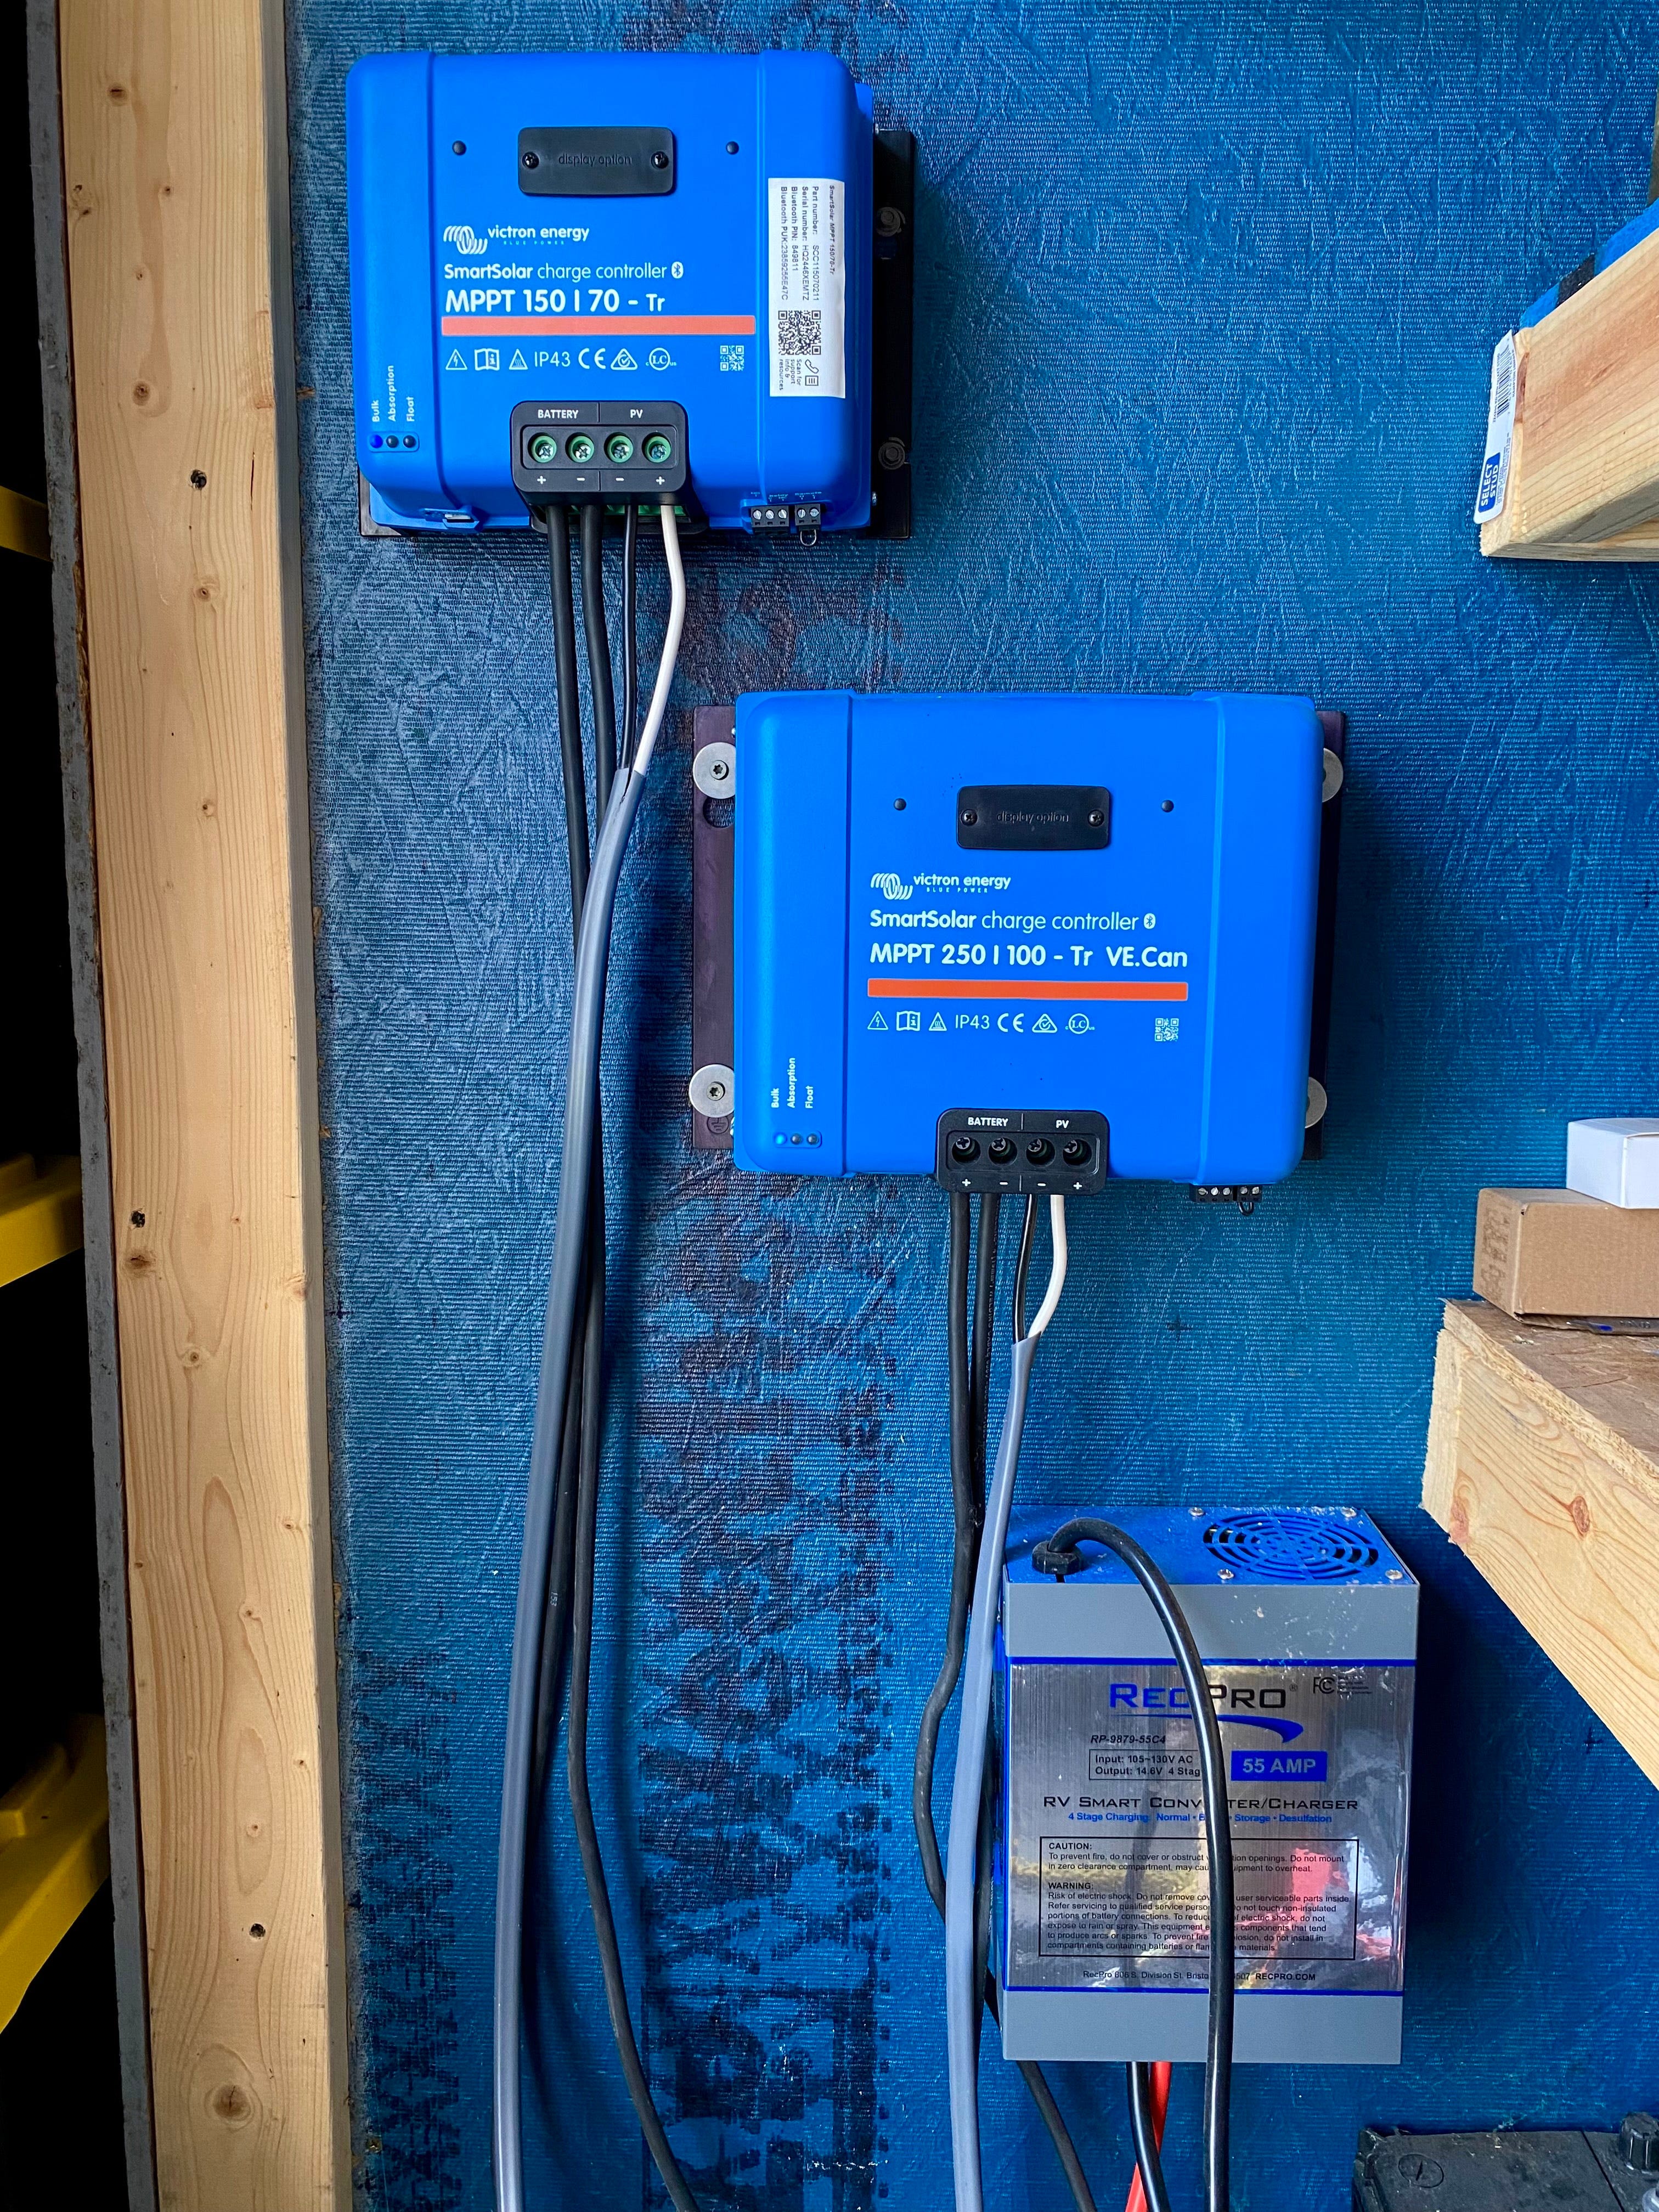
Panel Wiring and Input Strategy
I’ve wired the solar panels in series, which means each panel’s positive is connected to the next panel’s negative, and the two remaining leads (one positive, one negative) are connected to the charge controller. This increases the voltage of the incoming solar array while keeping the amperage constant, which is an efficient way to deliver power to the MPPT controller, especially over longer wire runs.
Three panels feed the Victron 250|100
Two panels feed one of the 150|70 controllers
One panel feeds the second 150|70, leaving room to add another
All solar leads are run using 8-gauge insulated wire, and the connections from the charge controllers to the battery bank are 4-gauge.
Battery Bank Configuration
Our battery bank is wired in parallel: positive to positive, negative to negative. This setup keeps the system at 12V, while allowing each added battery to increase total amp-hour capacity (currently 1,496Ah or ~18,000Wh of storage - far superior to the 3000Wh starting point).
To balance load and charge flow, I use the positive lead from one end of the battery bank and the negative from the opposite end as the main power leads.
AC Power Distribution
The Giandel 3000W inverter (connected to the battery bank with 4-gauge wire) has two AC outlets:
One is dedicated to our AC chest freezer (housed in an insulated shipping container with the solar system), along with a power strip for charging power tools.
The other runs all AC power to our house. I cut the female end off a heavy-duty extension cord, ran the cable through conduit from the container to the house, and wired it into a standard wall outlet. This gave us a clean, permanent outlet rather than relying on loose extension cords.
Generator Backup
Though I prefer not to use it, I’ve added a RecPro 55A RV smart converter/charger to our system (also connected using 4-gauge wire). This allows us to charge the battery bank using a gas-powered generator during long stretches of cloudy weather, when we’re running higher loads or during winter storms. It’s not the norm, but it’s a helpful fallback.
Building this system from the ground up gave me a level of freedom and understanding I never had when relying on plug-and-play units. For our purposes, it’s not just about generating power, it’s about resilience, self-reliance, and the satisfaction of knowing every part of your system by heart.
If you’re considering a solar setup for daily use, not just backup, I encourage you to learn the components, think beyond packaged solutions, and seek out hands-on wisdom where you can find it. For me, the Amish community offered that grounding. I’m also still subscribed to the “DIY Solar Power with Will Prowse” channel on YouTube. Will has tons of videos on everything from beginner-friendly system builds to in-depth battery tear-downs that are super helpful. And now, we run our Farm completely without grid power, confidently and comfortably.
If you’d like to know more details about our system, wiring tips, or a breakdown of how I sized each part of the system, feel free to leave a comment. I’m happy to share what I’ve learned.
—Adam
Our Off Grid Life